Chess Sets
While I’m not particularly good, I love to play chess. When I got my first SLA printer, I knew a few custom chess sets would be great initial test prints.
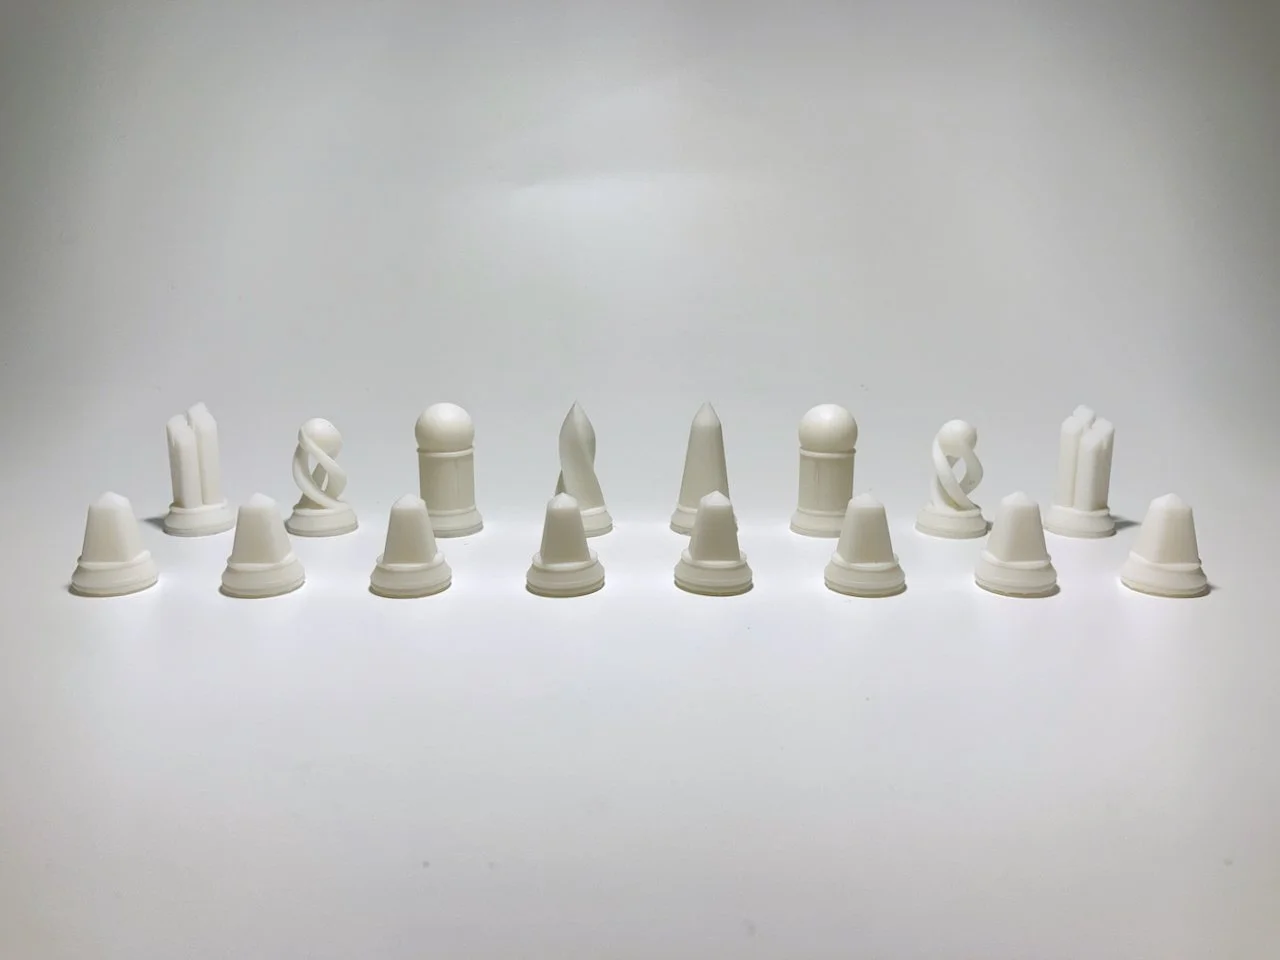
Obelisk
I’ve long loved the power of 3D printing for rapid prototyping, but when I discovered SLA printing, I realized it could be utilized for beautiful, production ready parts.
This was one of the first test prints I did on my Formlabs Form 2, using White Resin. This print has no post processing aside from a basic clean in an isopropyl alcohol bath to dissolve any uncured resin.
biochem
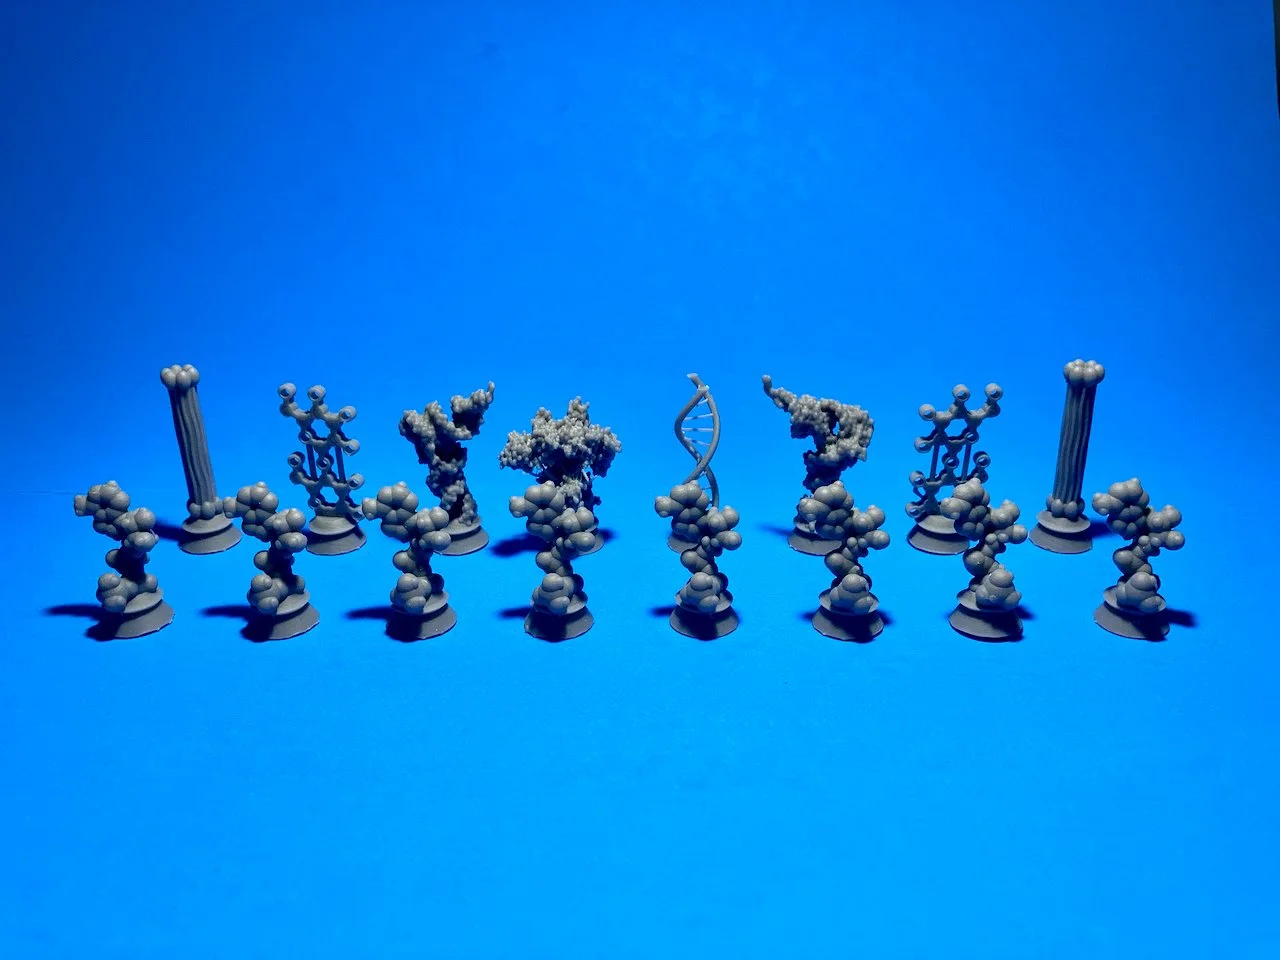
Unlike FDM printers, which extrude filament layer by layer, SLA prints use light or lasers to cure liquid resin. Thanks to the resolution of the light source, the process can yield much higher resolution prints, and generate smaller and more detailed features impossible for FDM.
The idea of this set was to stress test the printer. Every piece in this set has a different but incredibly small details, There are incredibly thin bridges on the double helix and a variety of textures and details of different scales on the rest of the pieces. This test really pushed the limits of the printer, and I was able to bank the results of this for future projects.
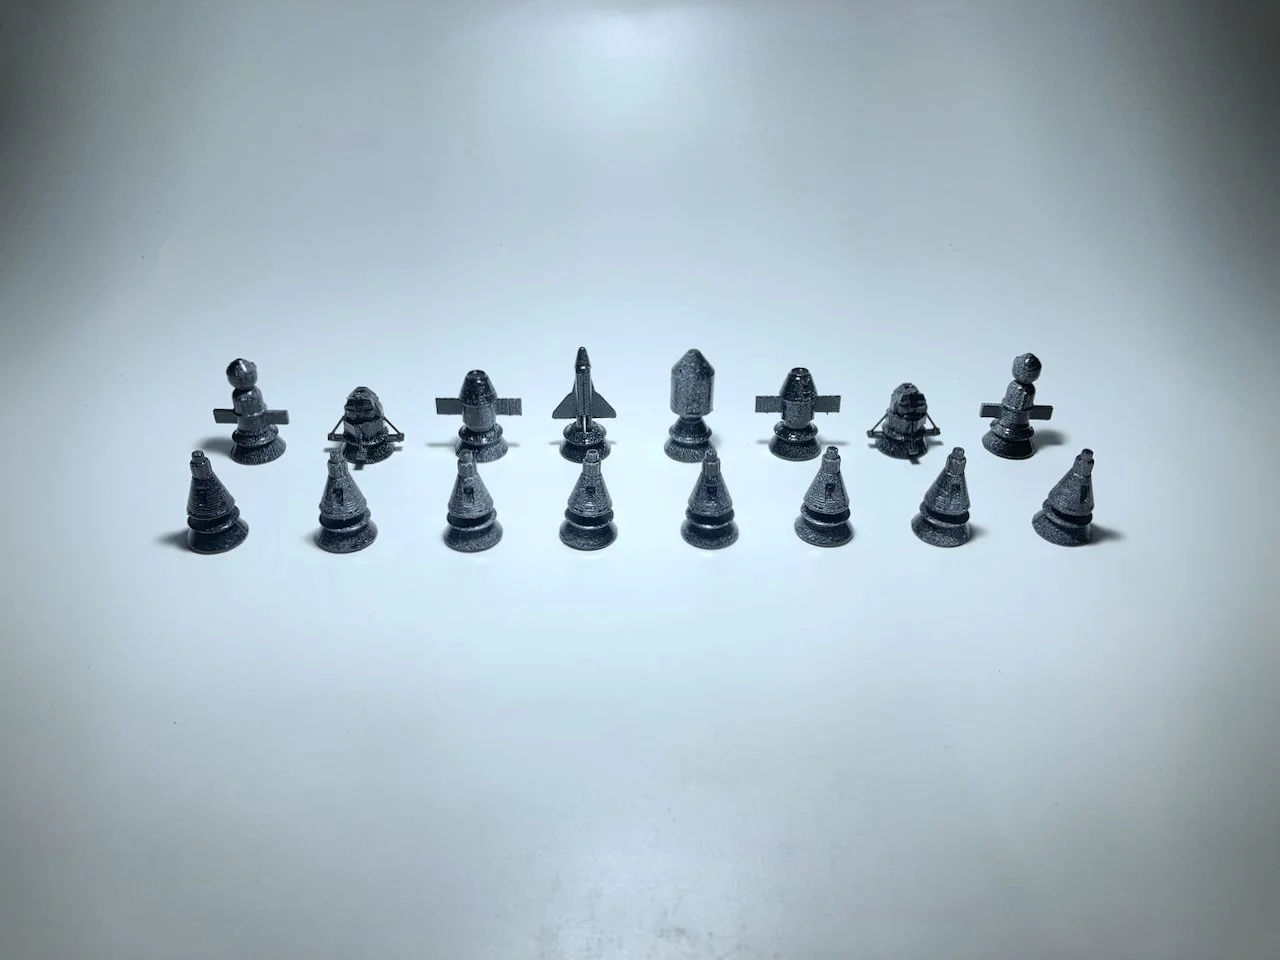
Space
This was one of the first prints I painted. SLA prints are very popular in the miniatures hobby because of their high detail. Miniature enthusiasts meticulously paint them, which I had never done before.
The parts were again, printed using White Resin. I then cleaned, air dried and primed all the parts. After the primer coat, I painted them with a glossy black base coat before adding a matte white to add texture. I interrupted the spray from a spray paint can to give it a splattered texture finish, and while I won’t be a professional prop artist any time soon, I’m really happy with the results.
blocks
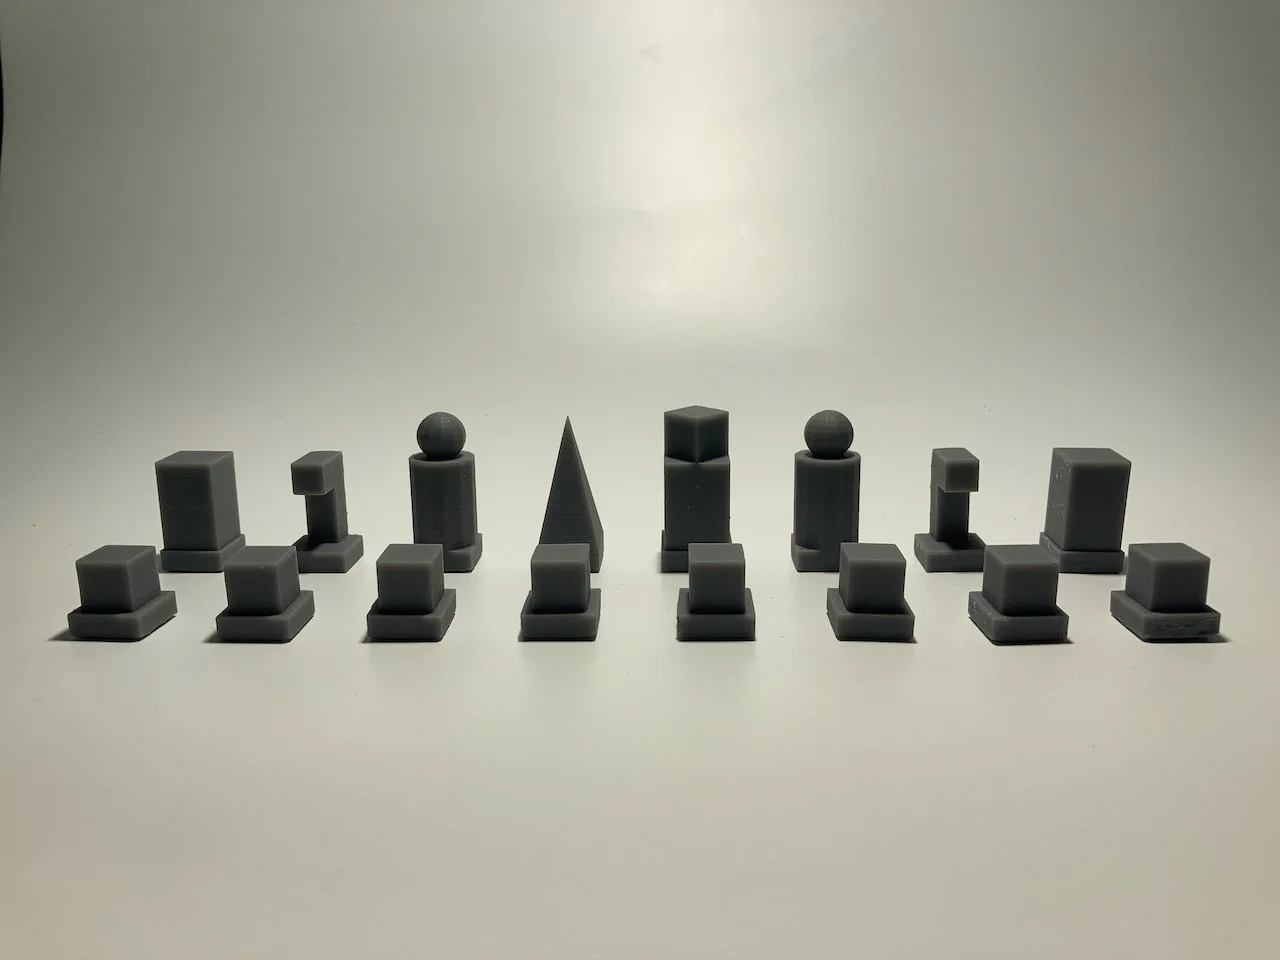
This was the final test set I printed, this time in Formlabs Draft Resin. Draft Resin cures much faster, resulting in almost a 50% decrease in printing time, and has a really soft gray appearance.
My main goal in this set, was to see how uniform, square and within tolerance the prints would be.
Any printer will need calibration of some sort, either at the factory or once commissioned, to ensure it’s printing properly. This print was done with the factory calibration,
I took note of the orientation of the parts on the build plate, measured them in X, Y and Z using calipers and micrometers, then compared the measurements against what was expected from the CAD. All parts were within a few thousandths of expected, which I was happy with.